Four Ways a Logo Gets Onto a Cable
Each method marks a different layer of the product, which explains almost all of the difference in durability:
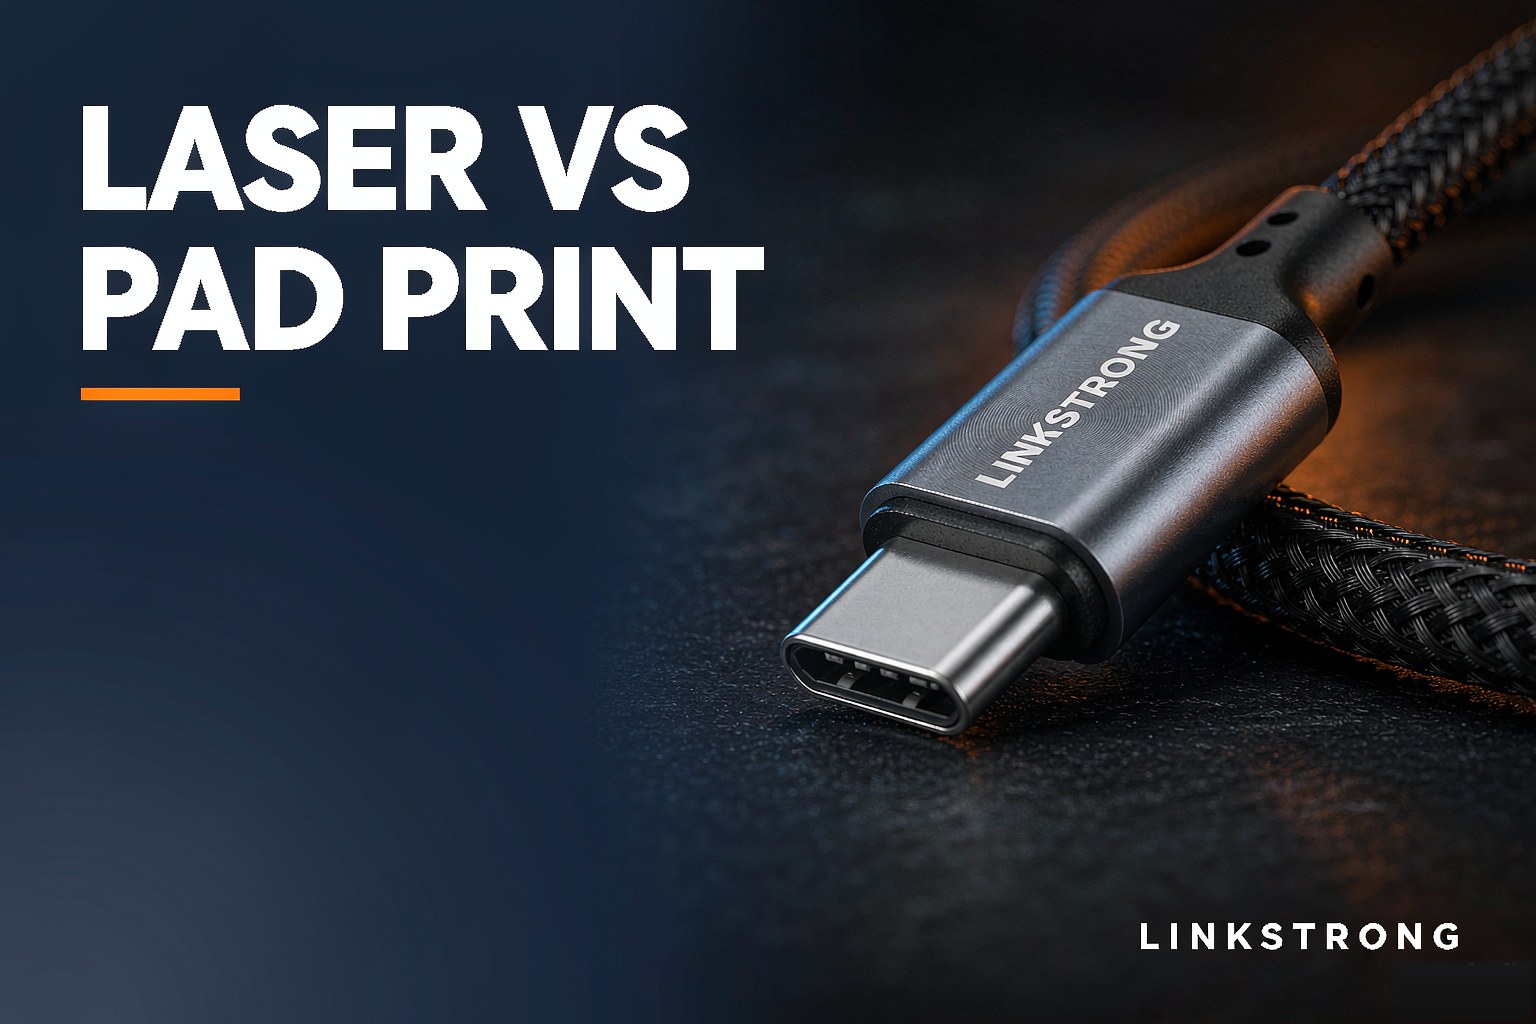
- Laser engraving. A fiber laser burns or ablates the surface. On anodized aluminum it removes the dye layer to reveal a pale mark underneath. On plated zinc alloy it can cut through plating, which is usually a problem rather than a feature.
- Pad printing. A silicone pad picks ink from an etched plate and stamps it onto the housing. Sits on the surface, cures by solvent or UV, handles multiple colors with one plate per color.
- UV digital printing. Inkjet onto a primed surface, cured instantly by UV light. No plate, so short runs and photographic artwork become possible.
- In-mold or embossed marking. The logo is cut into the tool, so the mark is part of the part. Highest setup, lowest unit cost, zero wear.
Durability: What Survives a Two-Year Life
The test that matters is not "does it wipe off" but "how many rubs at what pressure with what solvent." In practice:
- Laser on anodized aluminum is the most durable option in the category. The mark is a change in the surface itself, so it survives alcohol, hand cream and abrasion for the life of the part.
- Pad printing is a cured ink film. It passes standard rub tests on flat, well-primed ABS, and fails first on curved edges and on housings that flex.
- UV digital behaves like pad printing but with thinner ink, so it needs a primer and a clear coat if the logo sits where a thumb lands.
- In-mold cannot wear off, because there is nothing to wear off.
For a mark that has to survive insertion cycles and pocket abrasion, look at how the same housing performs in the connector durability tests — the logo lives in the harshest handled zone on the product.
Cost, Setup and Practical Minimums
| Method | Setup cost | Unit cost | Practical MOQ | Color capability |
|---|---|---|---|---|
| Laser engraving | Low | Low | 500 pcs | Single tone, contrast only |
| Pad printing | Plate per color | Low at volume | 1,000 pcs | 1 to 4 spot colors |
| UV digital | None | Highest per unit | 100 pcs | Full color, gradients |
| In-mold | Tooling modification | Lowest | 3,000 pcs | One or two colors in the tool |
The pattern is consistent: money moves from setup to unit cost as you go down the table. Under about 1,000 pieces, laser or UV digital is the only sensible route. Above 10,000, pad printing wins on cost, and in-mold wins if the design is stable enough to justify cutting the tool.
Matching the Method to the Housing
This is where most sampling problems start, because the same logo file behaves differently on every substrate:
- Anodized aluminum: laser, without question. Crisp edges, permanent, and the natural choice on premium metal shells.
- Plated zinc alloy: pad printing with a proper primer. Laser tends to break the plating and open a corrosion path, which matters on a part that lives in a pocket.
- ABS or PC: pad printing for volume, UV digital for short runs. Both need the surface flamed or primed before printing or the ink will not anchor.
- TPE overmold: pad printing only. Laser burns the compound and leaves a charred edge; the mark also sits on a surface that stretches.
What to Put in the RFQ
A logo instruction that survives manufacturing has five parts, and suppliers who receive all five quote faster:
- Vector artwork in AI or EPS, with a stated minimum line weight, typically 0.15 mm at final size.
- Placement dimensioned from a datum on the housing, with a tolerance, typically plus or minus 0.3 mm.
- Color as a Pantone reference plus the substrate, not as an RGB value from a screen. The Pantone matching process explains why the substrate changes the result.
- The exact surface — which housing, which face, and whether it sits under a thumb.
- A rub requirement, for example 50 double rubs with 96% ethanol at 500 g, and who pays for the test.
Placement is also a compliance question on some programs. Apple's MFi rules restrict how third-party branding appears on Lightning products, and marketplace listings often require the brand to be legible in a specific product photo. Confirm both before the tool is cut.
The Failure Nobody Tests For: Batch Drift
The first batch is approved from a photograph; the third batch arrives visibly different. Two mechanisms cause it. Pad printing drifts when the plate wears and the ink film thins, so the same Pantone reads lighter. Laser drifts when power or focus changes as the lens ages, so a crisp mark becomes a grey one. Both are controlled the same way: keep the approved sample in the factory as a master reference, specify that each batch is compared against it under the same light, and add a marking check to the inspection sheet. If the housing is being retooled or the shell supplier changes, treat the logo as a new approval — the manufacturing process overview shows where marking sits in the sequence.
Sending a new logo into production and want the method matched to your housing? Send us your artwork and housing spec and we will recommend the marking process and quote it as a separate line.